- Home
- Splunk Certifications
- SPLK-2002 Splunk Enterprise Certified Architect Dumps
Pass Splunk SPLK-2002 Exam in First Attempt Guaranteed!
Get 100% Latest Exam Questions, Accurate & Verified Answers to Pass the Actual Exam!
30 Days Free Updates, Instant Download!


SPLK-2002 Premium Bundle
- Premium File 172 Questions & Answers. Last update: Jun 15, 2026
- Training Course 80 Video Lectures


Last Week Results!

Includes question types found on the actual exam such as drag and drop, simulation, type-in and fill-in-the-blank.

Based on real-life scenarios similar to those encountered in the exam, allowing you to learn by working with real equipment.
All Splunk SPLK-2002 certification exam dumps, study guide, training courses are Prepared by industry experts. PrepAway's ETE files povide the SPLK-2002 Splunk Enterprise Certified Architect practice test questions and answers & exam dumps, study guide and training courses help you study and pass hassle-free!
How to Prepare for the Splunk Enterprise Certified Architect SPLK-2002 Exam: Complete Study Guide
The Splunk Enterprise Certified Architect SPLK-2002 exam is one of the most respected certifications in the data analytics and IT operations world. It validates an individual’s ability to design, manage, and troubleshoot large-scale Splunk environments. For professionals working with enterprise deployments, passing this exam demonstrates a high level of skill and sets them apart in the competitive IT industry.
Preparing for this exam requires more than just reading theory. Candidates must balance structured study, hands-on practice, and strategic revision. Since the exam assesses both knowledge and application, understanding Splunk deployment methodology, clusters, and troubleshooting techniques is essential. We focus on laying the foundation for preparation by covering exam structure, required skills, study planning, and practical approaches.
Role of a Splunk Enterprise Architect
A Splunk architect is responsible for building and managing complex environments where data is ingested, indexed, and searched across distributed systems. Unlike smaller setups, enterprise deployments often involve multiple indexers, search heads, and large volumes of incoming data.
Key responsibilities of a Splunk architect include:
Designing Splunk environments for scalability and performance
Planning and implementing data ingestion pipelines
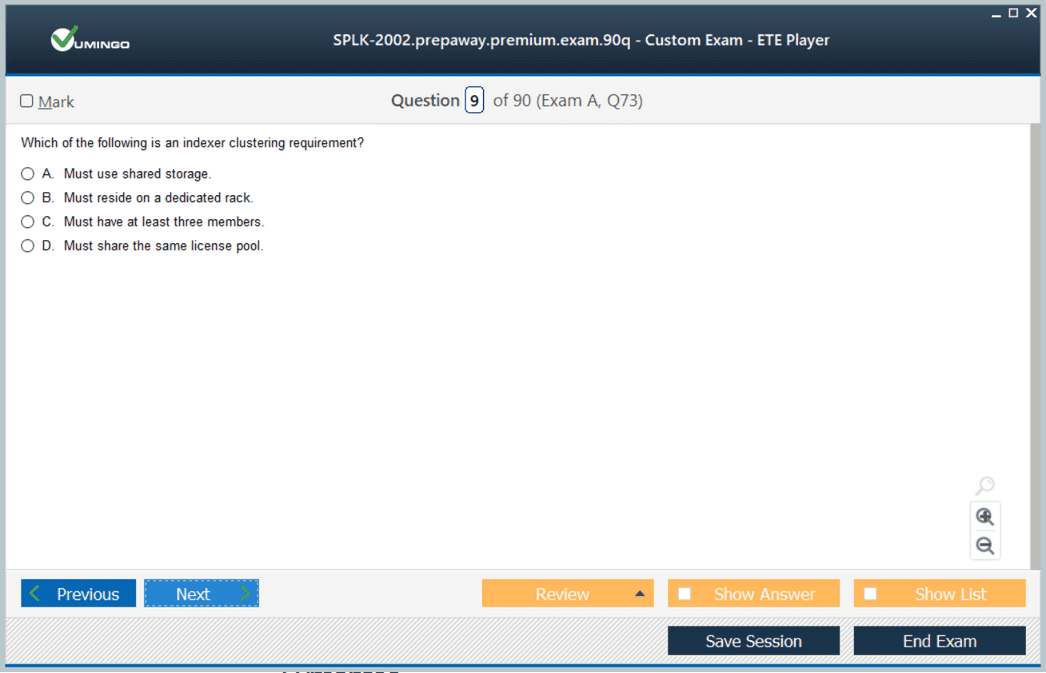
Managing indexer clustering for high availability
Configuring search head clustering for efficiency
Troubleshooting issues in distributed deployments
Applying best practices for data governance and monitoring
The exam reflects these real-world responsibilities. Candidates who aim to pass the SPLK-2002 must prove they can handle the technical and strategic challenges of such environments.
Understanding the SPLK-2002 Exam
The Splunk Enterprise Certified Architect SPLK-2002 exam is designed for advanced-level professionals. It tests both deep technical knowledge and the ability to apply that knowledge in distributed Splunk environments.
The exam format includes 85 multiple-choice questions, with a time limit of 90 minutes. A passing score of 70 percent is required. The supervised nature of the exam ensures that candidates demonstrate their own abilities.
The content domains often include:
Splunk Deployment Methodology
Capacity Planning and Data Collection Strategies
Indexer Clustering Concepts and Management
Search Head Clustering
Monitoring and Troubleshooting in Distributed Deployments
Applying Best Practices for Splunk Operations
Since these domains involve a combination of theoretical knowledge and hands-on expertise, preparation needs to address both aspects equally.
Building a Structured Study Plan
Preparation for the SPLK-2002 exam begins with creating a detailed study plan. Without a structured plan, it is easy to miss critical topics or spend too much time on familiar areas while neglecting weaker ones.
A good plan should include:
Dividing the syllabus into smaller sections based on exam domains
Allocating weekly goals with clear focus areas
Combining theory with practical lab work
Scheduling time for regular practice tests
Reserving time for review and revision
For example, the first week can focus on deployment methodology, the second week on indexer clustering, the third on search head clustering, and so forth. By assigning topics to specific weeks, preparation becomes systematic and manageable.
Time management is another important factor. Candidates who can dedicate two to three hours daily over a period of several months generally find themselves better prepared than those who attempt last-minute preparation.
Recommended Study Resources
Success in the exam relies on accessing the right resources. There is a wide range of study material available for candidates, but choosing the most relevant ones saves time and effort.
Some of the most effective resources include:
Splunk documentation: Official Splunk docs provide detailed explanations of architecture, clustering, and deployment practices. They are reliable and frequently updated.
Splunk training: Instructor-led or online Splunk training courses help candidates cover exam objectives systematically.
Tutorials and guides: Online tutorials, blogs, and guides often explain concepts with real-world examples.
Practice tests: Taking a Splunk practice test helps candidates simulate exam conditions, test their knowledge, and identify weak areas.
Splunk Dumps: While not a replacement for proper study, these can sometimes provide insight into commonly tested topics when used responsibly.
Balancing these resources creates a comprehensive preparation framework that covers both knowledge and application.
Importance of Hands-On Practice
One of the defining features of the SPLK-2002 exam is its emphasis on real-world scenarios. Candidates cannot rely only on theory. Practical experience is essential to handle the types of questions asked.
Hands-on practice can be achieved by setting up a personal Splunk environment. Candidates can use virtual machines or cloud platforms to create distributed deployments. Key activities to practice include:
Installing and configuring Splunk Enterprise
Creating and managing indexer clusters
Configuring search head clustering
Managing data ingestion pipelines
Implementing monitoring and alerting solutions
Troubleshooting connectivity or replication issues
Working through these tasks regularly builds the confidence needed to answer scenario-based questions in the exam.
Simplifying Complex Concepts
Splunk architecture can initially feel overwhelming because of its layered structure and multiple components. Breaking down topics into smaller parts makes learning more effective.
For example, instead of trying to learn indexer clustering as a whole, break it into:
Cluster master responsibilities
Peer node communication
Replication and search factors
Failure detection and recovery processes
Similarly, search head clustering can be broken into:
Captain election process
Member roles and responsibilities
Search artifact replication
Handling search load balancing
This method of studying not only makes complex topics easier to understand but also ensures that nothing is missed when reviewing.
Using Practice Exams for Self-Assessment
Taking a Splunk practice test is one of the most effective ways to measure readiness for the exam. Practice exams mirror the format of the real test, helping candidates adjust to time constraints and question styles.
Regular practice tests provide the following benefits:
Identifying weak areas early in preparation
Building confidence by familiarizing with exam conditions
Improving time management skills
Reinforcing memory through repeated testing
After completing each practice exam, reviewing incorrect answers is essential. Understanding why a particular option was wrong provides deeper insights and prevents repeated mistakes.
Leveraging Online Communities and Forums
The Splunk community is a powerful support system for candidates. Many professionals preparing for the SPLK-2002 or those who have already cleared it actively participate in forums and discussion boards.
Engaging with these communities can provide:
Clarification on difficult topics
Exposure to real-world deployment challenges
Recommendations for study resources
Motivational support during preparation
Discussion platforms often feature case studies and troubleshooting examples that resemble real exam scenarios, making them valuable for preparation.
Guidance from Experienced Professionals
Connecting with professionals who have already passed the SPLK-2002 exam can provide unique insights. Their experience with preparation strategies, study resources, and exam-day challenges can help candidates avoid common pitfalls.
Mentorship or guidance can cover:
Recommended order of study topics
Effective lab exercises for hands-on learning
Tips for time management during the exam
Strategies for tackling scenario-based questions
Learning directly from experienced individuals provides perspective that study material alone cannot deliver.
Overcoming Common Preparation Challenges
Preparing for the SPLK-2002 exam comes with its own set of challenges. Some of the most common include:
Struggling to maintain a consistent schedule due to work or personal commitments
Relying only on theoretical study without enough lab practice
Procrastinating until the last few weeks before the exam
Focusing too much on strong topics while ignoring weaker areas
The key to overcoming these challenges is discipline and balance. Consistency in preparation, dedicating time to both theory and practice, and revisiting difficult topics regularly ensure well-rounded readiness.
Developing the Right Mindset
Technical knowledge is essential, but mindset plays an equally important role in preparation. Approaching the exam with confidence, patience, and persistence increases the likelihood of success.
Some strategies to develop the right mindset include:
Setting realistic preparation goals
Maintaining a positive outlook during study sessions
Treating mistakes as learning opportunities
Practicing stress management techniques before the exam
Cultivating a mindset that balances focus and calmness ensures that candidates perform at their best when it matters most.
Splunk Deployment Methodology
Importance of Deployment Methodology
Deployment methodology serves as the blueprint for building and maintaining Splunk environments. Without a structured approach, distributed deployments can easily become inefficient or unstable. The exam evaluates a candidate’s ability to apply proven deployment methodologies to design scalable, secure, and reliable solutions.
Stages of Deployment
Splunk deployment methodology can be broken down into stages that align with the lifecycle of implementation:
Planning: Assessing requirements such as data sources, ingestion volume, compliance needs, and user expectations.
Design: Creating architecture diagrams that outline the roles of indexers, search heads, forwarders, and monitoring consoles.
Implementation: Installing and configuring components according to best practices.
Validation: Testing the deployment to ensure proper functionality, performance, and reliability.
Maintenance: Continuously monitoring, patching, and scaling the environment.
Applying Best Practices
Best practices in deployment methodology include ensuring high availability, planning for disaster recovery, documenting every step, and applying security measures at each layer. The exam tests how well candidates can integrate these practices into their designs.
Capacity Planning and Data Collection Strategies
Role of Capacity Planning
Capacity planning ensures that Splunk environments can handle current workloads and future growth without degradation in performance. Incorrect planning can result in slow searches, indexing delays, and poor user experience.
Factors Influencing Capacity Planning
Several factors impact capacity planning:
Daily data ingestion rate
Data retention requirements
Number of concurrent searches
User roles and permissions
Hardware resources including CPU, memory, and storage
Understanding these factors allows architects to make informed decisions about infrastructure requirements.
Data Collection Strategies
Effective data collection strategies involve selecting the right forwarders, configuring parsing and indexing rules, and ensuring data integrity. Splunk architects must know how to implement universal forwarders, heavy forwarders, and intermediate forwarders depending on the use case.
For example, universal forwarders are lightweight and suitable for most data sources, while heavy forwarders are necessary when filtering or parsing is required before data reaches indexers.
Indexer Clustering
Introduction to Indexer Clustering
Indexer clustering is a core topic in the SPLK-2002 exam. It provides high availability, data replication, and fault tolerance for Splunk environments. A cluster consists of a cluster master node and peer nodes that act as indexers.
Cluster Master Responsibilities
The cluster master manages peer nodes and maintains the health of the cluster. It handles:
Replication policies
Bucket management
Search factor and replication factor enforcement
Recovery operations after node failures
Replication and Search Factors
Two key terms in indexer clustering are replication factor and search factor. Replication factor determines how many copies of data are stored across peers, while search factor defines how many searchable copies are available at any time.
A balanced configuration ensures both high availability and search efficiency. Misconfigured replication or search factors can compromise data availability or system performance.
Failure Recovery
An important aspect of clustering is handling failures. The exam expects candidates to understand how clusters recover from node outages. For instance, when a peer fails, the cluster master initiates re-replication of data to maintain the replication factor.
Monitoring Cluster Health
Cluster health is monitored through the monitoring console or REST API queries. Knowing how to interpret health status and resolve issues is a critical skill for exam success.
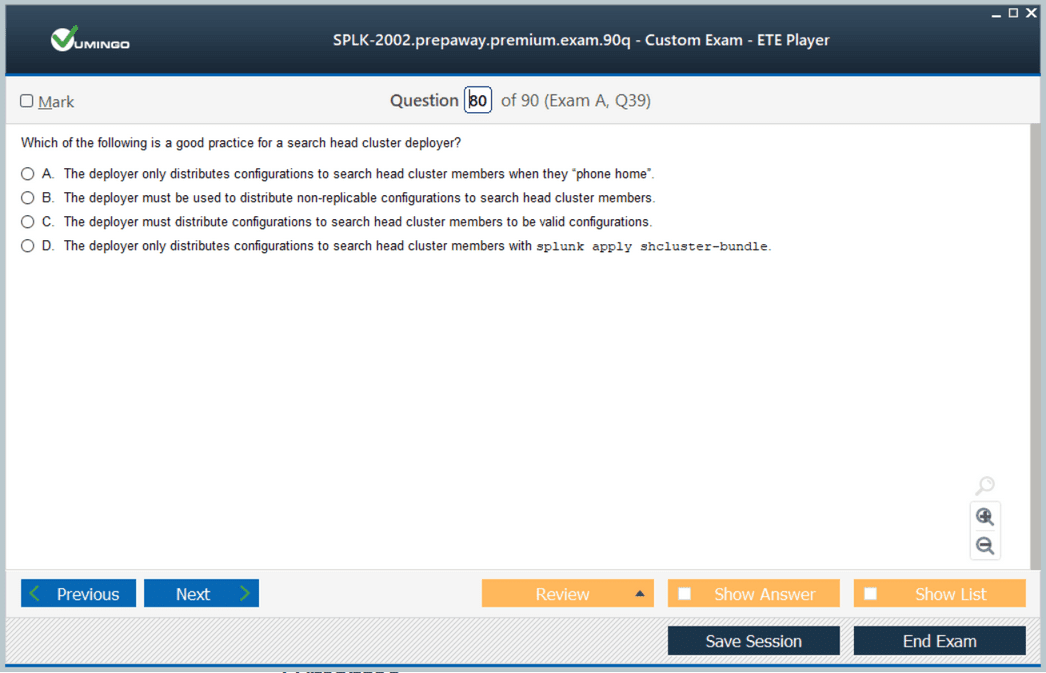
Search Head Clustering
Purpose of Search Head Clustering
Search head clustering ensures that searches, dashboards, and reports remain available even if one search head fails. It also allows multiple search heads to share workloads, improving efficiency.
Captain Election
Within a cluster of search heads, one node is elected as captain. The captain coordinates scheduling, job distribution, and knowledge object replication. Understanding the captain election process is important for handling failovers during the exam.
Knowledge Object Replication
Knowledge objects such as saved searches, macros, and dashboards must remain consistent across the cluster. The captain ensures that these objects are replicated to all members. Candidates should know how to troubleshoot replication failures.
Search Affinity and Load Balancing
Search head clustering distributes workloads across members. Load balancing ensures searches run efficiently, while search affinity binds certain searches to specific nodes when needed. This concept is frequently tested through scenario-based questions.
Monitoring and Troubleshooting
Common Issues in Distributed Deployments
Distributed deployments often encounter issues such as indexing delays, cluster replication failures, or search inefficiency. Candidates must demonstrate the ability to identify and resolve these issues.
Tools for Monitoring
Splunk provides several tools for monitoring, including:
Monitoring Console: A centralized interface for monitoring cluster health, search performance, and indexing activity.
REST API: Useful for programmatic access to system health data.
Logs and internal indexes: Critical for diagnosing errors.
Troubleshooting Methodology
A structured approach to troubleshooting involves:
Identifying symptoms, such as slow search performance.
Isolating the affected component, whether indexer, search head, or forwarder.
Analyzing logs and monitoring metrics.
Applying corrective actions, such as adjusting configurations or restarting services.
Scenario-based exam questions often describe a deployment issue and ask candidates to identify the root cause or best solution.
Best Practices for Distributed Deployments
High Availability
High availability ensures that Splunk environments remain operational even during failures. Techniques include clustering, redundancy in forwarders, and failover strategies for search heads.
Security Considerations
Splunk environments handle sensitive data. Best practices involve enabling authentication, using SSL for data transfer, restricting user roles, and applying least-privilege principles.
Performance Optimization
Optimizing performance includes configuring efficient indexing, managing search concurrency, and ensuring adequate hardware resources. Regular tuning based on monitoring data is essential.
Using Practice Tests and Splunk Dumps Strategically
Practice tests and Splunk Dumps play a role in preparation when used correctly. Practice tests replicate exam conditions, while Dumps provide additional exposure to commonly asked topics. Candidates should avoid relying solely on Dumps and instead use them to reinforce knowledge gained from documentation and labs.
By consistently reviewing performance in practice tests, candidates can identify weak topics and allocate additional study time. This approach ensures readiness for the wide variety of questions asked in the exam.
Leveraging Peer Discussions and Case Studies
Case studies presented in online communities often resemble real exam scenarios. For example, discussions about recovering from failed replication or optimizing search head clusters provide practical context. By engaging in these conversations, candidates gain exposure to real-world challenges and develop problem-solving skills that directly support exam preparation.
Peer discussions also help clarify doubts and provide alternative perspectives on solving technical issues. Many professionals who have passed the exam share strategies that can guide new candidates effectively.
Importance of Documentation and Change Management
In large enterprises, change management is crucial. Splunk architects must document configurations, deployment changes, and troubleshooting steps. Proper documentation ensures that environments remain consistent and reduces the risk of errors during upgrades or scaling.
This practice also supports exam preparation by reinforcing structured thinking. Scenario-based questions often describe incomplete documentation or poorly managed changes, requiring candidates to identify the underlying risk or mistake.
Developing Exam-Day Readiness
Beyond mastering technical content, candidates must also prepare for the exam experience itself. Exam-day readiness includes managing time effectively, staying calm under pressure, and adapting quickly to different question types.
Key strategies include:
Practicing under timed conditions with sample tests
Reading each question carefully to avoid misinterpretation
Skipping difficult questions initially and returning to them later
Staying composed even when encountering unfamiliar scenarios
The ability to maintain focus and apply knowledge methodically is often the difference between passing and failing.
Importance of Troubleshooting Skills
Why Troubleshooting is Critical
In distributed Splunk environments, problems are inevitable. From indexing delays to cluster replication failures, every component can introduce challenges. The SPLK-2002 exam includes scenario-based questions designed to test how well candidates can analyze symptoms, identify root causes, and recommend solutions.
Structured Troubleshooting Approach
A systematic approach to troubleshooting is vital. Candidates should follow these steps:
Define the problem clearly by observing symptoms.
Identify the affected components such as forwarders, indexers, or search heads.
Analyze logs, internal indexes, and monitoring metrics.
Apply corrective actions such as reconfiguring clusters or restarting services.
Validate the solution to ensure the problem does not recur.
Applying this approach in hands-on labs during preparation helps build confidence for exam scenarios.
Common Troubleshooting Scenarios
Indexing Delays
Indexing delays occur when data ingestion cannot keep up with incoming events. Causes may include insufficient hardware resources, overloaded indexers, or misconfigured parsing rules. Troubleshooting involves monitoring CPU, memory, and disk utilization, and ensuring that forwarders are properly balanced across indexers.
Cluster Replication Failures
Replication failures in indexer clusters compromise high availability. These issues often arise from network connectivity problems, misconfigured replication factors, or peer node downtime. Resolving them requires checking cluster master logs, verifying peer health, and reestablishing replication policies.
Search Performance Issues
Slow search performance is one of the most frequent challenges. Root causes may include inefficient search queries, lack of search head resources, or poor indexing strategies. Troubleshooting focuses on optimizing queries, enabling search concurrency controls, and ensuring sufficient hardware capacity.
Search Head Cluster Inconsistencies
Search head clustering can fail when knowledge object replication does not synchronize properly. This may result from captain election issues or misconfigured replication settings. Candidates should know how to identify replication errors in logs and reinitialize replication if necessary.
Case Studies in Troubleshooting
Case Study 1: Failed Indexer Node
A large enterprise experiences a sudden failure in one of its indexer nodes. The cluster master reports an imbalance in replication factor. Troubleshooting begins with verifying peer node connectivity, then checking logs for hardware errors. The corrective action involves replacing the failed node and triggering re-replication to restore the replication factor.
Case Study 2: Dashboard Latency
Users complain that dashboards are taking too long to load. Investigation reveals that multiple heavy searches are running concurrently. Troubleshooting involves analyzing search logs, optimizing search queries, and rescheduling some searches during off-peak hours. Additional resources are added to the search head cluster to improve performance.
Case Study 3: Data Ingestion Gap
Monitoring reveals a gap in data ingestion from certain sources. The universal forwarders on those sources show connectivity errors. Troubleshooting identifies a firewall rule blocking traffic. Once the rule is corrected, data ingestion resumes, and the monitoring console confirms recovery.
Monitoring Tools and Techniques
Splunk Monitoring Console
The monitoring console provides dashboards for monitoring indexing rates, search performance, and cluster health. It is the first tool an architect should use to identify issues in real time.
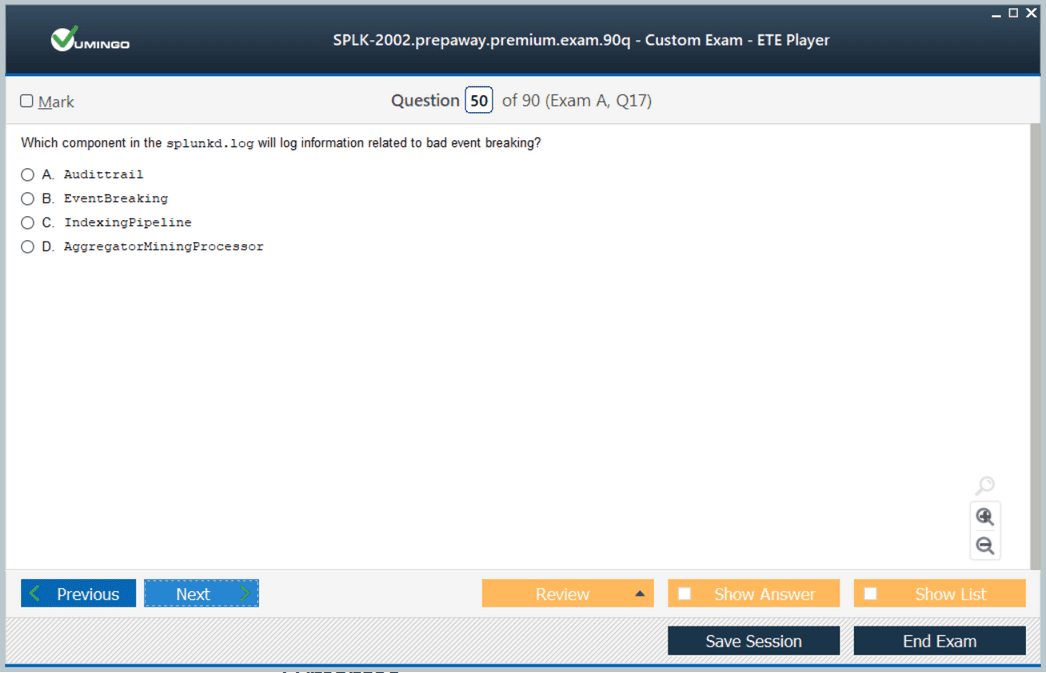
Logs and Internal Indexes
Splunk maintains internal logs such as splunkd.log that contain detailed error messages. Internal indexes like _internal and _audit provide insights into search activity and system performance.
REST API for Monitoring
For advanced monitoring, the REST API allows automated checks of system health. Scripts can query metrics such as cluster status or search head replication, enabling proactive monitoring.
Optimizing Performance in Splunk Environments
Search Query Optimization
Searches can become resource-intensive if not written efficiently. Using indexed fields, avoiding unnecessary joins, and limiting time ranges are some ways to optimize queries. The exam often tests whether candidates can identify inefficient searches and recommend improvements.
Indexing Strategies
Efficient indexing ensures that searches perform well. Indexing strategies include defining appropriate index buckets, applying retention policies, and separating high-volume data from low-volume sources. Properly configured indexing reduces strain on resources.
Hardware and Scaling
Performance issues may require scaling out infrastructure. Adding additional indexers or search heads, increasing CPU or memory, and upgrading storage can significantly improve system performance. Candidates should know when scaling is the best option versus optimizing configurations.
Security Considerations in Troubleshooting
Authentication and Access Issues
Troubleshooting often involves addressing authentication problems. Misconfigured LDAP integration, expired certificates, or role misassignments can prevent users from accessing the system. Identifying and resolving these issues requires familiarity with Splunk’s security framework.
Protecting Data During Troubleshooting
While troubleshooting, it is important not to compromise data security. Using secure channels for data transfer, maintaining audit logs, and applying least-privilege principles help maintain compliance while resolving issues.
Exam Scenarios on Troubleshooting
The SPLK-2002 exam frequently presents scenarios such as:
A search head fails to elect a captain during clustering.
Indexing performance suddenly drops despite stable ingestion rates.
Replication factor is not being met after a node restart.
Users are unable to access certain dashboards due to replication lag.
Candidates must apply a troubleshooting methodology to identify the root cause and propose the most effective solution. These questions test real-world readiness rather than memorization.
Long-Term Strategies for Splunk Architects
Continuous Learning
Passing the SPLK-2002 exam is a milestone, but maintaining expertise requires continuous learning. Splunk regularly updates its software, adding new features and changing best practices. Architects should stay updated through documentation, training sessions, and release notes.
Participation in Splunk Community
The Splunk community remains a valuable resource even after certification. Actively participating in forums, user groups, and events provides exposure to new challenges and innovative solutions. Sharing experiences also helps others preparing for certifications.
Building Real-World Experience
Certification provides theoretical validation, but real-world experience strengthens expertise. Working on enterprise projects, handling deployments, and troubleshooting live issues refine practical skills. Employers value architects who combine certification with applied knowledge.
Advanced Use Cases for Splunk Architects
Enterprise Security Implementations
Many organizations use Splunk as the backbone of their security information and event management systems. Architects must design secure environments, integrate with threat detection tools, and ensure compliance with industry standards.
IT Operations Analytics
Splunk is also widely used for IT operations monitoring. Use cases include log aggregation, anomaly detection, and root cause analysis. Understanding these applications allows architects to design solutions tailored to business needs.
Business Intelligence and Data Insights
Beyond IT, Splunk can provide insights into customer behavior, application performance, and operational efficiency. Architects who understand these broader use cases bring additional value to organizations.
Practice Tests and Ongoing Preparation
Even after building hands-on experience, practice tests remain critical. Regular testing keeps knowledge fresh and highlights areas needing revision. Splunk Dumps can serve as supplementary material, but only when combined with proper study resources and practice environments.
Candidates should develop a routine of taking practice exams under timed conditions, reviewing explanations for incorrect answers, and repeating tests until confident. This method ensures readiness not just for the exam but also for real-world responsibilities.
Mindset and Exam Day Preparation
Mental Preparation
Success in the exam also depends on mental readiness. Candidates should approach the test calmly, avoid panic when facing difficult questions, and use logical reasoning to narrow down options.
Time Management
Managing 85 questions in 90 minutes requires careful time management. Skipping difficult questions and returning later ensures that no time is wasted. Familiarity with the exam format through practice tests helps reduce time pressure.
Physical Readiness
Adequate rest, hydration, and a stress-free environment on exam day contribute to better performance. Candidates who are physically prepared find it easier to remain focused throughout the exam duration.
Conclusion
Preparing for the Splunk Enterprise Certified Architect SPLK-2002 exam is more than just studying theory or memorizing commands. It is about developing the mindset and skill set of an enterprise-level architect who can design, implement, secure, and troubleshoot Splunk environments in real-world conditions. Across this guide, we have explored the foundational knowledge needed for architecture, the design considerations for distributed deployments, and the advanced troubleshooting and optimization strategies that form the core of a Splunk architect’s daily responsibilities.
The exam challenges candidates to think critically, analyze complex scenarios, and apply structured problem-solving approaches. Success requires not only understanding indexing, clustering, and search performance but also mastering monitoring, scaling, and security practices. Through practice tests, hands-on labs, and continuous learning, candidates can build the confidence needed to approach the exam effectively while gaining practical skills that directly apply to enterprise operations.
Certification is a milestone, but it should also serve as a springboard for ongoing growth. Splunk continues to evolve with new features and expanding use cases, from security operations and IT monitoring to business intelligence and customer insights. By staying engaged with the Splunk community, keeping up with new releases, and applying knowledge in real-world projects, certified architects can ensure they remain valuable contributors to their organizations.
Ultimately, the SPLK-2002 certification validates not only technical expertise but also the ability to deliver reliable, scalable, and secure solutions at an enterprise level. For professionals aiming to advance their careers, strengthen their organizations, and expand their influence in data-driven environments, this certification is a powerful achievement and a gateway to new opportunities.
Splunk SPLK-2002 practice test questions and answers, training course, study guide are uploaded in ETE Files format by real users. Study and Pass SPLK-2002 Splunk Enterprise Certified Architect certification exam dumps & practice test questions and answers are to help students.
Exam Comments * The most recent comment are on top
- SPLK-1002 - Splunk Core Certified Power User
- SPLK-5001 - Splunk Certified Cybersecurity Defense Analyst
- SPLK-1003 - Splunk Enterprise Certified Admin
- SPLK-1001 - Splunk Core Certified User
- SPLK-3003 - Splunk Core Certified Consultant
- SPLK-2002 - Splunk Enterprise Certified Architect
- SPLK-4001 - Splunk O11y Cloud Certified Metrics User
- SPLK-3001 - Splunk Enterprise Security Certified Admin
- SPLK-5002 - Splunk Certified Cybersecurity Defense Engineer
- SPLK-1005 - Splunk Cloud Certified Admin
- SPLK-1004 - Splunk Core Certified Advanced Power User
- SPLK-2003 - Splunk SOAR Certified Automation Developer
- SPLK-3002 - Splunk IT Service Intelligence Certified Admin
Purchase SPLK-2002 Exam Training Products Individually
Why customers love us?
What do our customers say?
The resources provided for the Splunk certification exam were exceptional. The exam dumps and video courses offered clear and concise explanations of each topic. I felt thoroughly prepared for the SPLK-2002 test and passed with ease.
Studying for the Splunk certification exam was a breeze with the comprehensive materials from this site. The detailed study guides and accurate exam dumps helped me understand every concept. I aced the SPLK-2002 exam on my first try!
I was impressed with the quality of the SPLK-2002 preparation materials for the Splunk certification exam. The video courses were engaging, and the study guides covered all the essential topics. These resources made a significant difference in my study routine and overall performance. I went into the exam feeling confident and well-prepared.
The SPLK-2002 materials for the Splunk certification exam were invaluable. They provided detailed, concise explanations for each topic, helping me grasp the entire syllabus. After studying with these resources, I was able to tackle the final test questions confidently and successfully.
Thanks to the comprehensive study guides and video courses, I aced the SPLK-2002 exam. The exam dumps were spot on and helped me understand the types of questions to expect. The certification exam was much less intimidating thanks to their excellent prep materials. So, I highly recommend their services for anyone preparing for this certification exam.
Achieving my Splunk certification was a seamless experience. The detailed study guide and practice questions ensured I was fully prepared for SPLK-2002. The customer support was responsive and helpful throughout my journey. Highly recommend their services for anyone preparing for their certification test.
I couldn't be happier with my certification results! The study materials were comprehensive and easy to understand, making my preparation for the SPLK-2002 stress-free. Using these resources, I was able to pass my exam on the first attempt. They are a must-have for anyone serious about advancing their career.
The practice exams were incredibly helpful in familiarizing me with the actual test format. I felt confident and well-prepared going into my SPLK-2002 certification exam. The support and guidance provided were top-notch. I couldn't have obtained my Splunk certification without these amazing tools!
The materials provided for the SPLK-2002 were comprehensive and very well-structured. The practice tests were particularly useful in building my confidence and understanding the exam format. After using these materials, I felt well-prepared and was able to solve all the questions on the final test with ease. Passing the certification exam was a huge relief! I feel much more competent in my role. Thank you!
The certification prep was excellent. The content was up-to-date and aligned perfectly with the exam requirements. I appreciated the clear explanations and real-world examples that made complex topics easier to grasp. I passed SPLK-2002 successfully. It was a game-changer for my career in IT!


site helps a lot. i’m very certain that no one will fail upon using the files available here!thumbs up!