- Home
- Blue Prism Certifications
- AD01 Blue Prism Developer Dumps
Pass Blue Prism AD01 Exam in First Attempt Guaranteed!
Get 100% Latest Exam Questions, Accurate & Verified Answers to Pass the Actual Exam!
30 Days Free Updates, Instant Download!

AD01 Premium Bundle
- Premium File 190 Questions & Answers. Last update: Jun 26, 2026
- Training Course 21 Video Lectures


Last Week Results!

Includes question types found on the actual exam such as drag and drop, simulation, type-in and fill-in-the-blank.

Based on real-life scenarios similar to those encountered in the exam, allowing you to learn by working with real equipment.
All Blue Prism AD01 certification exam dumps, study guide, training courses are Prepared by industry experts. PrepAway's ETE files povide the AD01 Blue Prism Developer practice test questions and answers & exam dumps, study guide and training courses help you study and pass hassle-free!
How to Prepare for the Blue Prism Developer AD01 Certification Exam
The Blue Prism Developer AD01 certification exam is a professional credential designed to validate the skills and knowledge of individuals who work with Blue Prism robotic process automation software. Blue Prism is one of the leading RPA platforms in the enterprise technology space, and the AD01 exam serves as the formal benchmark for developers who build, test, and deploy automation solutions using this platform. Earning this certification tells employers and clients that a candidate has been assessed against a rigorous standard and has demonstrated the competency required to deliver real automation value in a professional setting.
The AD01 exam is positioned as an intermediate-level credential that assumes candidates already have some exposure to Blue Prism concepts and the broader world of robotic process automation. It is not designed for complete beginners, though candidates with strong general programming backgrounds and a few weeks of focused preparation can realistically aim to pass it. The certification is widely recognized across industries that have adopted RPA at scale, including banking, insurance, healthcare, telecommunications, and shared services organizations. For professionals working in these sectors, the AD01 carries significant weight as a marker of technical credibility.
Exam Structure and Format
The Blue Prism AD01 exam consists of multiple-choice questions that test candidates across a range of topics related to Blue Prism development. The exam typically contains around 60 questions and must be completed within a set time limit, usually 60 minutes. Candidates must achieve a passing score of 65 percent or higher to earn the certification, though Blue Prism reserves the right to adjust this threshold. The exam is administered through a proctored online platform, which means candidates can take it from their own location without needing to visit a physical testing center.
Questions on the AD01 exam are drawn from the official Blue Prism exam blueprint, which outlines the specific topics and competency areas that the exam covers. The blueprint is publicly available on the Blue Prism portal and should be the first document any candidate downloads when beginning their preparation. The exam tests both theoretical knowledge and applied understanding, meaning candidates must not only know what Blue Prism features exist but also know how and when to use them in realistic development scenarios. Scenario-based questions are particularly common and require candidates to think through problems as a practicing developer would.
Core Knowledge Areas Tested
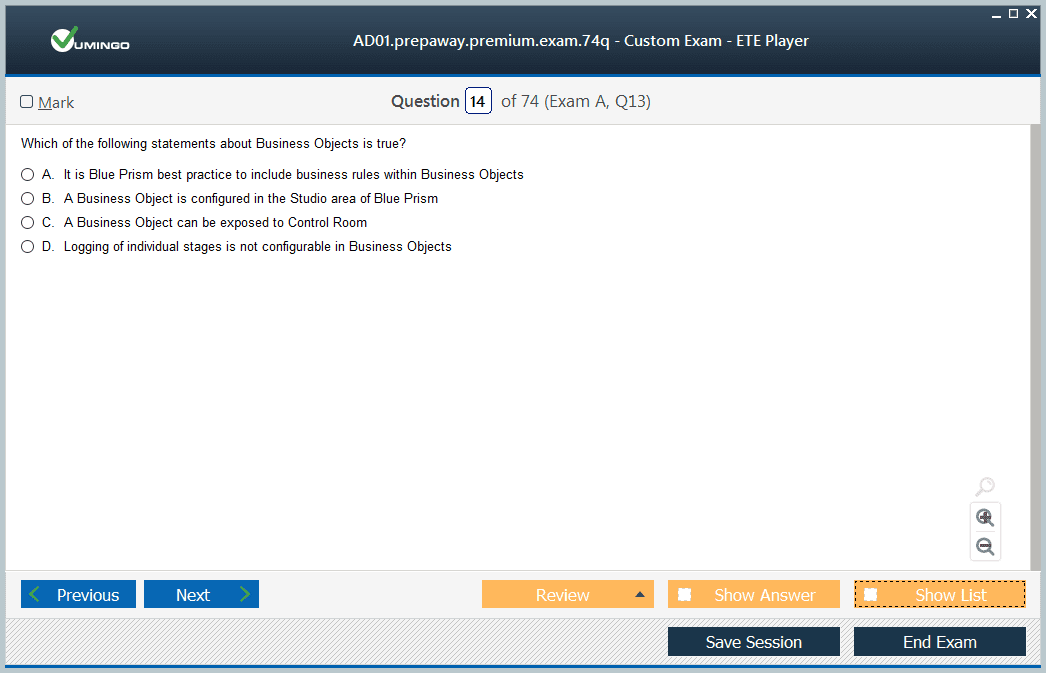
The AD01 exam covers a broad set of technical topics that reflect the full scope of Blue Prism developer responsibilities. Process Studio is one of the central areas of focus, and candidates must be thoroughly familiar with how to build, structure, and optimize process flows within this environment. This includes knowledge of stages, pages, decision logic, loops, exception handling, and the various flow control mechanisms that Blue Prism provides. Candidates who have spent time actively building processes in Process Studio will find these questions more intuitive than those who have only read about the concepts.
Object Studio is another major area of the exam, covering how developers interact with target applications through application modelers and business objects. Candidates must understand how to spy elements using different modes such as Win32, HTML, and accessibility modes, and know when each approach is most appropriate. Work queues, scheduler functionality, environment variables, credentials management, and reporting are additional areas that appear consistently across the exam. The breadth of topics means that candidates cannot afford to skip any section of the blueprint, as questions from seemingly minor topic areas can still appear on the exam and affect the final score.
Setting Up Study Plan
Building a structured study plan before beginning active preparation is one of the most effective things a candidate can do to improve their chances of passing the AD01 exam. A good study plan starts with a realistic assessment of how much time is available each day and how many weeks remain before the scheduled exam date. Most candidates with some prior Blue Prism exposure find that four to six weeks of consistent study is sufficient, while those starting from a more limited background may need eight to ten weeks to feel adequately prepared.
Once the available time has been assessed, the next step is to map each topic from the official exam blueprint to specific study resources and allocate time proportionally based on topic weight and personal familiarity. Topics that carry more weight in the exam and that the candidate finds less familiar should receive more dedicated time than topics that are already well understood. Building in regular review sessions throughout the study period, rather than relying solely on intensive review in the final days before the exam, helps consolidate learning and prevents the forgetting that tends to occur when study is compressed into a short window.
Official Blue Prism Resources
Blue Prism provides a comprehensive set of official learning resources that candidates should prioritize in their preparation. The Blue Prism Learning Portal, accessible to registered users, offers structured training courses, video tutorials, and interactive learning modules that are aligned with the AD01 exam blueprint. These resources are produced by Blue Prism's own training team and reflect the most accurate and current representation of how the platform works. Candidates who work through the official courses systematically will cover the majority of the exam content in a format that is directly relevant to the questions they will face.
The Blue Prism Digital Exchange and the platform's official documentation are also valuable resources that candidates often overlook. The documentation provides detailed technical explanations of every feature, setting, and configuration option available in Blue Prism, and working through relevant sections can clarify concepts that training videos explain only at a surface level. Blue Prism also publishes practice papers and sample questions through its portal that give candidates a realistic sense of question style and difficulty. Accessing these materials early in the preparation process allows candidates to calibrate their expectations and adjust their study focus accordingly.
Hands-On Practice Importance
No amount of theoretical study can fully substitute for the experience of actually building automation solutions in Blue Prism. Hands-on practice is arguably the single most important component of AD01 exam preparation because so many of the exam's questions require applied knowledge that can only be developed through direct interaction with the platform. Candidates who spend significant time in Process Studio and Object Studio develop an intuitive sense of how Blue Prism behaves that makes scenario-based questions much easier to answer correctly under exam conditions.
Blue Prism offers a free trial version of its software that candidates can install on a personal computer and use for practice purposes. Setting up this trial environment and committing to daily practice sessions is one of the most effective investments a candidate can make in their preparation. Practical exercises should cover the full range of exam topics, including building multi-page processes, implementing exception handling frameworks, configuring work queues, setting up application modelers for different types of target applications, and using the control room to manage and monitor process runs. The more varied and challenging the practice scenarios, the better prepared the candidate will be for the real exam.
Exception Handling Framework Knowledge
Exception handling is one of the most heavily tested areas on the AD01 exam, and candidates must have a thorough grasp of how Blue Prism's exception handling framework operates. Blue Prism distinguishes between business exceptions and system exceptions, and developers must know when each type is appropriate and how to raise, catch, and recover from each within a process. The standard exception handling pattern used in professional Blue Prism development involves a specific page structure that candidates should be able to reproduce and explain.
The recover and resume stages in Blue Prism play a central role in exception handling, and candidates must understand exactly what these stages do and how they interact with the retry logic that is commonly built into enterprise automation solutions. The exam frequently presents scenarios where a process encounters an unexpected condition, and candidates must identify the correct way to handle that condition based on best practices. Candidates who have implemented exception handling in real Blue Prism projects will find these questions straightforward, while those who lack practical experience may struggle with the nuanced distinctions that the exam draws.
Work Queues and Scheduling
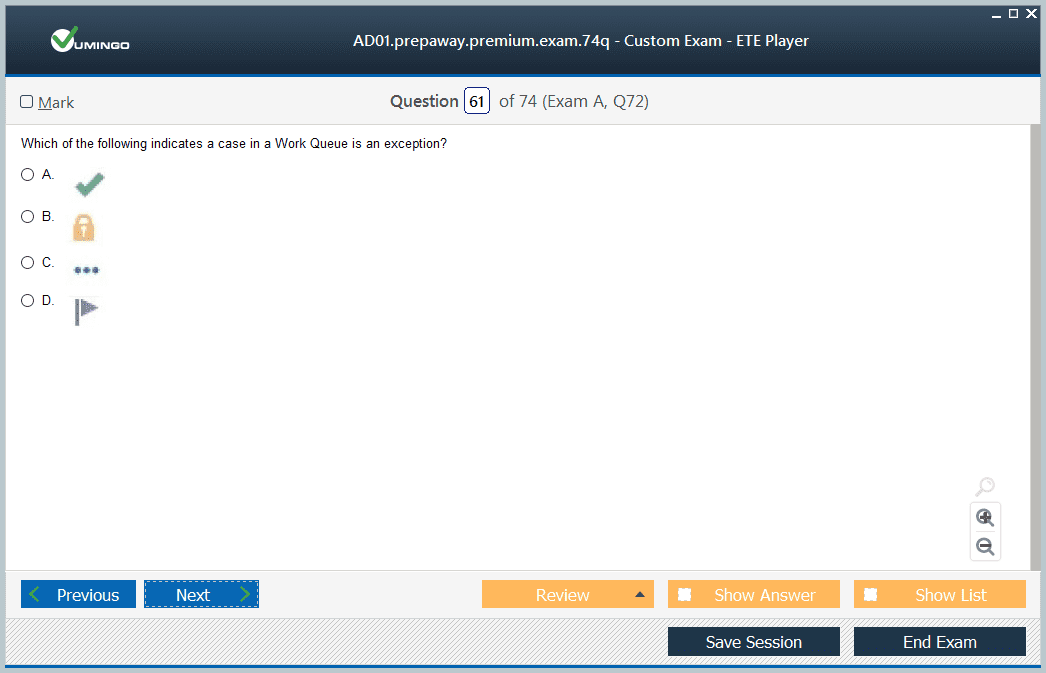
Work queues are a fundamental feature of Blue Prism that allow automation processes to manage large volumes of work items in an organized and trackable way. The AD01 exam tests candidates on how to configure, populate, and consume work queues, as well as how to use queue-related features such as tagging, priorities, and retry counts. Candidates must understand the full lifecycle of a work queue item, from the point at which it is added to the queue through processing and eventual completion or exception status.
The scheduler is another important feature that candidates must be familiar with, as it is the mechanism through which unattended automation processes are triggered to run at specified times or intervals. The exam tests knowledge of how to configure schedules, set up schedule tasks, and assign processes to specific resources or resource groups. Understanding how work queues and scheduling interact in a production automation environment gives candidates the context needed to answer applied questions that describe real operational scenarios. Both of these features are central to how Blue Prism is used in enterprise deployments.
Application Modeler Proficiency Required
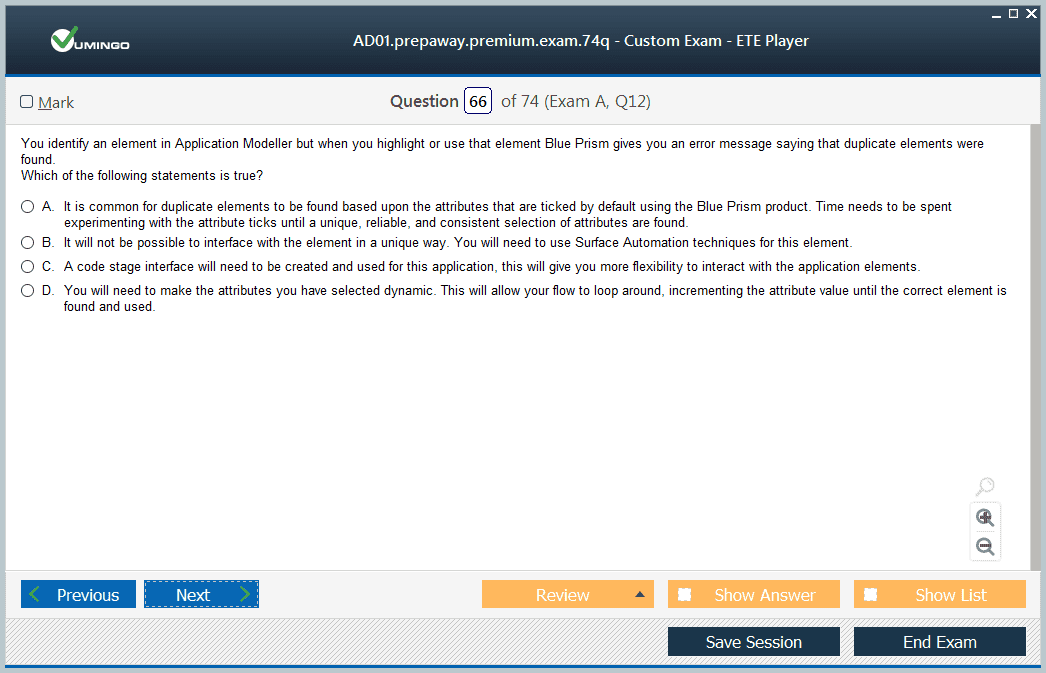
The application modeler in Blue Prism is the tool that developers use to identify and interact with elements in target applications, and proficiency in this area is essential for passing the AD01 exam. Candidates must understand how to use the different spying modes available in Blue Prism, including Win32, HTML, accessibility, and region modes, and know when each is most appropriate for a given type of application. Choosing the wrong spying mode can result in fragile automations that break when the target application changes, so the exam emphasizes making the right mode selection based on application characteristics.
Within the application modeler, candidates must also understand how to configure element attributes to make automation interactions reliable. This includes knowing which attributes are stable identifiers that remain consistent across different sessions and which attributes are dynamic and therefore should be avoided as primary identifiers. The exam may present screenshots or descriptions of application elements and ask candidates to select the most appropriate configuration. Candidates who have modeled a variety of different application types during their practice sessions will have a much stronger foundation for answering these questions accurately.
Control Room Operations Knowledge
The Control Room is Blue Prism's operational management interface, and the AD01 exam tests whether candidates understand how to use it to deploy, monitor, and manage automation processes in a live environment. Candidates must be familiar with how to register resources, assign processes to resources, start and stop sessions, and review session logs. The Control Room is where automation goes from development into production, and a developer's ability to support that transition depends on a solid grasp of its features.
Session management is a particularly important area within the Control Room content, as the exam tests knowledge of how multiple sessions can be run simultaneously across different resources and how conflicts are avoided. Candidates should also understand how to interpret session log data to diagnose problems when a process does not behave as expected in production. The ability to read and interpret logs is a practical skill that reflects real developer responsibilities, and the exam treats it as such. Candidates who have spent time in the Control Room during their practice will approach these questions with greater confidence.
Using Practice Exam Questions
Practice exam questions are one of the most valuable tools available to AD01 candidates because they simulate the actual exam experience and expose knowledge gaps that other study methods may miss. Working through practice questions systematically allows candidates to identify which topic areas they have mastered and which ones require additional attention. It also builds familiarity with the question style and format that Blue Prism uses, which reduces surprises and anxiety on the actual exam day.
Candidates should source practice questions from reputable platforms that specialize in RPA certification preparation and that update their question banks regularly to reflect current exam content. Simply memorizing answers to practice questions without understanding the reasoning behind them is a flawed approach that often leads to failure on the real exam. Instead, candidates should treat each wrong answer as a learning opportunity, researching the correct answer and the underlying concept until they genuinely understand why it is correct. This approach takes more time but produces far deeper and more durable learning that holds up under the varied question phrasings used in the actual exam.
Time Management During Exam
Effective time management during the AD01 exam is critical because the 60-minute time limit does not provide much room for extended deliberation on difficult questions. With approximately 60 questions to answer, candidates have about one minute per question on average. Questions that are immediately clear should be answered quickly to preserve time for more complex scenario-based items that require more careful analysis. Developing the habit of moving through questions efficiently during practice sessions carries over into better time management during the real exam.
When candidates encounter questions they are uncertain about, the best approach is to eliminate obviously incorrect answers, make the best choice available, and mark the question for review before moving on. Returning to marked questions at the end of the exam with fresh eyes often yields better results than spending several minutes on a difficult question in the moment. Candidates who have taken multiple timed practice exams before their actual exam date tend to manage their time more effectively because they have already calibrated their pace and know what it feels like to maintain an appropriate speed throughout the full question set.
Community and Peer Learning
The Blue Prism developer community is an active and supportive network that candidates can tap into as a valuable supplementary learning resource. Online forums, LinkedIn groups, and dedicated RPA communities provide spaces where candidates can ask questions, share study tips, and learn from the experiences of professionals who have already passed the AD01 exam. Reading through discussion threads where other candidates describe their exam experiences can reveal commonly tested topics and highlight areas that deserve extra attention.
Peer study groups, whether organized formally or through informal connections made in online communities, provide accountability and motivation that solo study often lacks. Studying alongside others who are preparing for the same exam creates opportunities to discuss concepts, quiz each other, and explain topics in ways that deepen comprehension for everyone involved. The act of explaining a concept to another person is one of the most effective ways to consolidate learning and identify gaps in knowledge that individual study might not surface. Candidates who engage with the community throughout their preparation period consistently report a more enriching and effective study experience.
Day Before Exam Tips
The day before the AD01 exam should be treated as a period of consolidation rather than intensive new learning. Attempting to cram new material in the final hours before an exam rarely improves performance and often increases anxiety by highlighting gaps that there is no longer time to address. Instead, candidates should spend the day before lightly reviewing key concepts, looking over notes from their study sessions, and making sure that all logistical arrangements for the exam are confirmed and ready.
Practical preparations for an online proctored exam include checking that the computer meets the technical requirements specified by the exam platform, ensuring that the internet connection is stable, clearing the exam area of any prohibited materials, and downloading any required software or browser extensions in advance. Getting a full night of sleep before the exam is one of the most impactful things a candidate can do for their performance. Cognitive function, memory retrieval, and problem-solving ability are all significantly impaired by sleep deprivation, and no amount of last-minute studying can compensate for arriving at the exam in a mentally fatigued state.
After Passing the Exam
Once the AD01 certification has been earned, the next step is putting it to work in a meaningful way. Updating a LinkedIn profile, resume, and professional portfolio to reflect the new credential is an important first step that helps the certification deliver its intended career benefits. Many professionals also find value in sharing the achievement through professional networks, both as a personal milestone and as an opportunity to connect with other Blue Prism practitioners who can become valuable professional contacts over time.
The AD01 certification also serves as a foundation for pursuing higher-level Blue Prism credentials, including the Professional Developer certification and specialist credentials in areas like solution design and infrastructure. Blue Prism's certification pathway is structured to reward continued learning and professional development, and candidates who invest in the AD01 often find themselves motivated to continue progressing through the broader certification framework. Employers who value RPA capabilities frequently support further certification efforts through financial sponsorship and dedicated study time, making the investment in the AD01 a catalyst for ongoing professional growth.
Staying Current With Blue Prism
Blue Prism regularly releases platform updates that introduce new features, modify existing functionality, and occasionally change development best practices. Certified developers who want to maintain the relevance of their AD01 credential must stay current with these updates and adapt their knowledge accordingly. Following Blue Prism's official release notes, attending webinars, and participating in product update sessions hosted by Blue Prism's training team are all effective ways to stay informed about platform changes.
The RPA industry itself is also evolving rapidly, with new concepts such as intelligent automation, process discovery, and AI-augmented RPA becoming increasingly important in how organizations deploy and manage automation programs. Blue Prism-certified developers who broaden their knowledge beyond the core platform to include these adjacent technologies become significantly more valuable to employers and clients. Staying current is not just about maintaining a certification; it is about continuously expanding the professional toolkit in ways that translate into better automation outcomes and greater career opportunities in a competitive and dynamic field.
Building RPA Career Trajectory
The Blue Prism AD01 certification is a powerful career asset that can open doors at multiple levels of the RPA talent market. Entry-level automation developers who earn the AD01 gain immediate credibility that helps them secure their first professional RPA roles. Mid-career professionals who add the AD01 to an existing technology background can position themselves for senior developer roles, automation architect positions, and technical leadership opportunities that command significantly higher compensation.
Long-term career growth in the RPA space increasingly requires professionals to combine platform-specific certifications like the AD01 with broader skills in process analysis, solution design, change management, and intelligent automation technologies. Candidates who treat the AD01 as the first step in a deliberate and strategic certification journey, rather than as a standalone achievement, are the ones who tend to build the most successful and resilient careers in this space. The RPA market continues to grow, enterprise adoption continues to expand, and the demand for skilled and certified Blue Prism developers shows no signs of slowing down.
Conclusion
Preparing for the Blue Prism Developer AD01 certification exam is a serious but entirely achievable undertaking for candidates who approach it with structure, consistency, and a genuine commitment to building real skills rather than simply memorizing facts. Throughout this guide, we have covered every major dimension of the preparation process, from downloading the official exam blueprint and setting up a realistic study schedule, to building hands-on proficiency in Process Studio and Object Studio, to managing time effectively during the exam itself. Each of these elements plays a role in determining whether a candidate walks away from the exam with a passing score and a valuable new credential.
The AD01 certification matters because it represents something real. It tells the market that a developer has not only learned about Blue Prism but has been formally tested on their ability to apply that knowledge in scenarios that reflect actual development challenges. In an industry where the quality of automation solutions can directly affect an organization's operational efficiency and bottom line, having certified developers on a team is not just a nice credential to display; it is a meaningful indicator of the team's capability to deliver reliable and well-structured automation at scale.
For candidates who are currently mid-preparation and feeling the pressure of a looming exam date, the most important reminder is that consistent daily effort compounds over time in ways that last-minute cramming simply cannot replicate. Each hour spent genuinely practicing in Blue Prism, working through practice questions with careful analysis, or discussing concepts with peers in the developer community adds a layer of knowledge and confidence that accumulates into exam readiness. Trust the preparation process, stay engaged with the material, and approach the exam as an opportunity to demonstrate knowledge that has been genuinely earned.
For those who have not yet started their preparation journey, the best time to begin is immediately. The demand for certified Blue Prism developers is strong and growing, and the certification provides both immediate career benefits and a foundation for long-term professional development in one of the most dynamic areas of enterprise technology. Download the exam blueprint today, set up your Blue Prism trial environment, and take the first step toward a credential that will represent your capabilities with accuracy and authority for years to come.
Blue Prism AD01 practice test questions and answers, training course, study guide are uploaded in ETE Files format by real users. Study and Pass AD01 Blue Prism Developer certification exam dumps & practice test questions and answers are to help students.
Purchase AD01 Exam Training Products Individually
Why customers love us?
What do our customers say?
The resources provided for the Blue Prism certification exam were exceptional. The exam dumps and video courses offered clear and concise explanations of each topic. I felt thoroughly prepared for the AD01 test and passed with ease.
Studying for the Blue Prism certification exam was a breeze with the comprehensive materials from this site. The detailed study guides and accurate exam dumps helped me understand every concept. I aced the AD01 exam on my first try!
I was impressed with the quality of the AD01 preparation materials for the Blue Prism certification exam. The video courses were engaging, and the study guides covered all the essential topics. These resources made a significant difference in my study routine and overall performance. I went into the exam feeling confident and well-prepared.
The AD01 materials for the Blue Prism certification exam were invaluable. They provided detailed, concise explanations for each topic, helping me grasp the entire syllabus. After studying with these resources, I was able to tackle the final test questions confidently and successfully.
Thanks to the comprehensive study guides and video courses, I aced the AD01 exam. The exam dumps were spot on and helped me understand the types of questions to expect. The certification exam was much less intimidating thanks to their excellent prep materials. So, I highly recommend their services for anyone preparing for this certification exam.
Achieving my Blue Prism certification was a seamless experience. The detailed study guide and practice questions ensured I was fully prepared for AD01. The customer support was responsive and helpful throughout my journey. Highly recommend their services for anyone preparing for their certification test.
I couldn't be happier with my certification results! The study materials were comprehensive and easy to understand, making my preparation for the AD01 stress-free. Using these resources, I was able to pass my exam on the first attempt. They are a must-have for anyone serious about advancing their career.
The practice exams were incredibly helpful in familiarizing me with the actual test format. I felt confident and well-prepared going into my AD01 certification exam. The support and guidance provided were top-notch. I couldn't have obtained my Blue Prism certification without these amazing tools!
The materials provided for the AD01 were comprehensive and very well-structured. The practice tests were particularly useful in building my confidence and understanding the exam format. After using these materials, I felt well-prepared and was able to solve all the questions on the final test with ease. Passing the certification exam was a huge relief! I feel much more competent in my role. Thank you!
The certification prep was excellent. The content was up-to-date and aligned perfectly with the exam requirements. I appreciated the clear explanations and real-world examples that made complex topics easier to grasp. I passed AD01 successfully. It was a game-changer for my career in IT!


